
What is DMX? Learn about lighting control and what you need to get started
Published on Wednesday 30 September 2026
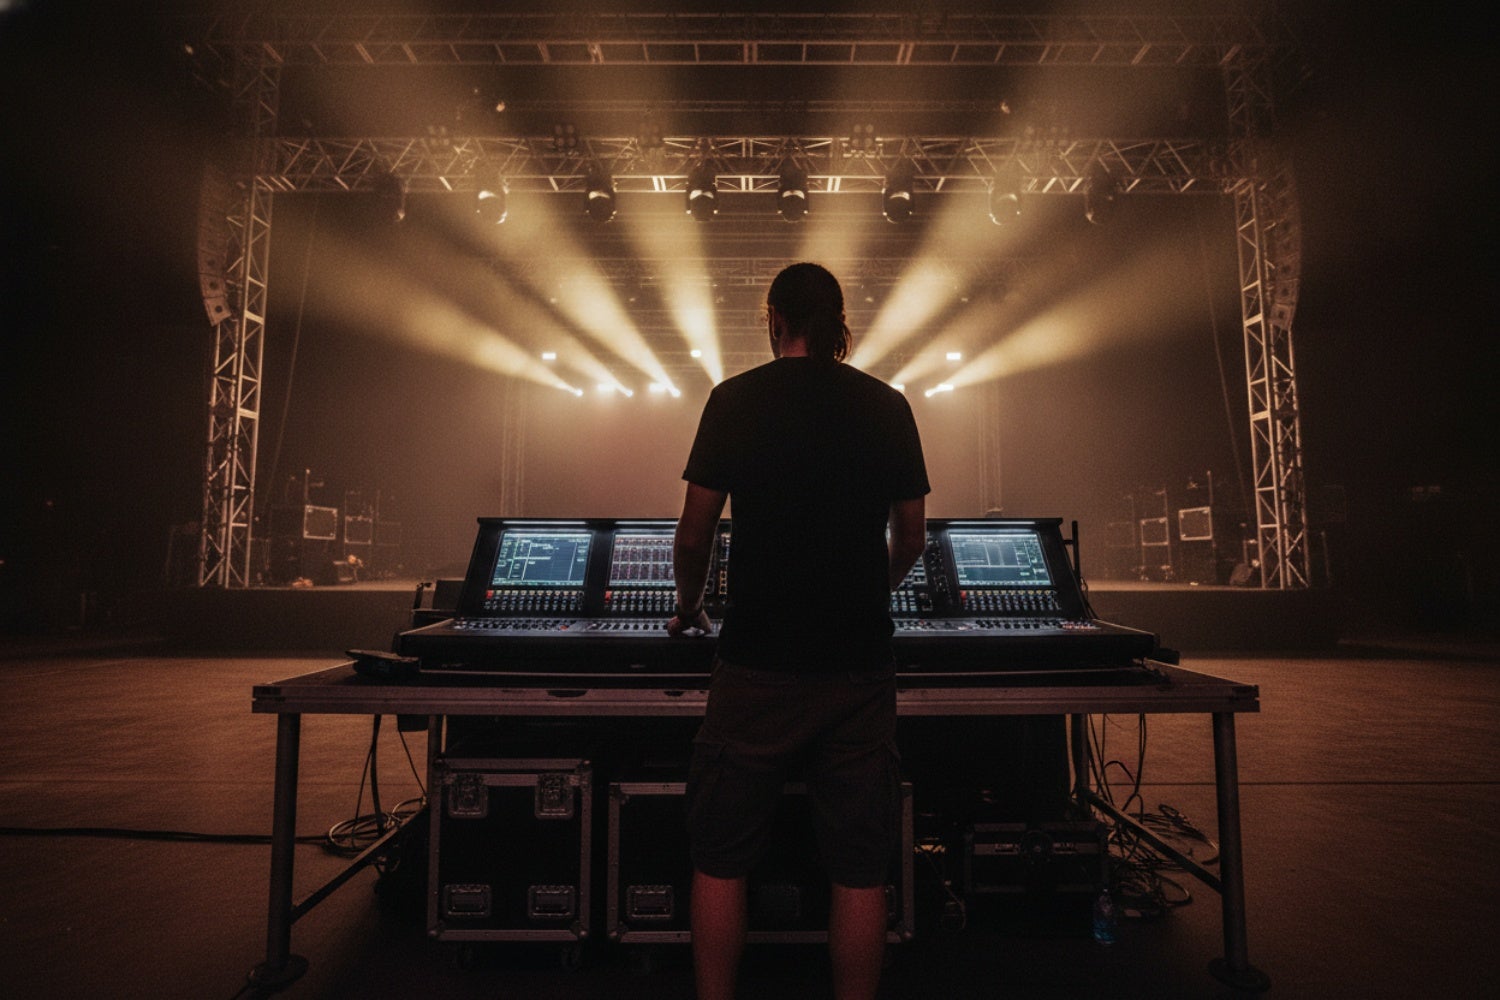
DMX is the language your lighting desk uses to talk to your lights. With this protocol, you can control lights and effects from different manufacturers from a single controller, which is why you’ll come across it sooner or later once you start working with lighting. If you understand how DMX works, you’ll build a light show faster and spend less time hunting for that one light that just won’t respond.
What is DMX and what can you control with it?
DMX stands for Digital Multiplex. The full name, DMX512, refers to the 512 channels that fit into a single DMX signal. Such a signal is also known as a universe. Technically, it’s an asynchronous, serial digital protocol: the information travels one piece after another, in a fixed order, over a single cable. The big advantage lies in the word ‘standard’. Because everyone speaks the same language, a single controller can drive fixtures from different manufacturers.
In practice, a wide variety of devices work with DMX. Dimmers and dimmer packs are the classics, but smoke machines and moving heads also respond to the signal from the lighting desk. The standard does draw a clear line, though: DMX doesn’t specify any error checking. The protocol is therefore intended for lighting and effects that pose no danger. According to the standard itself, it isn’t suitable for applications where an incorrect signal could cause damage or injury.
Lighting desk, software or the fixture itself: how do you control your lights?
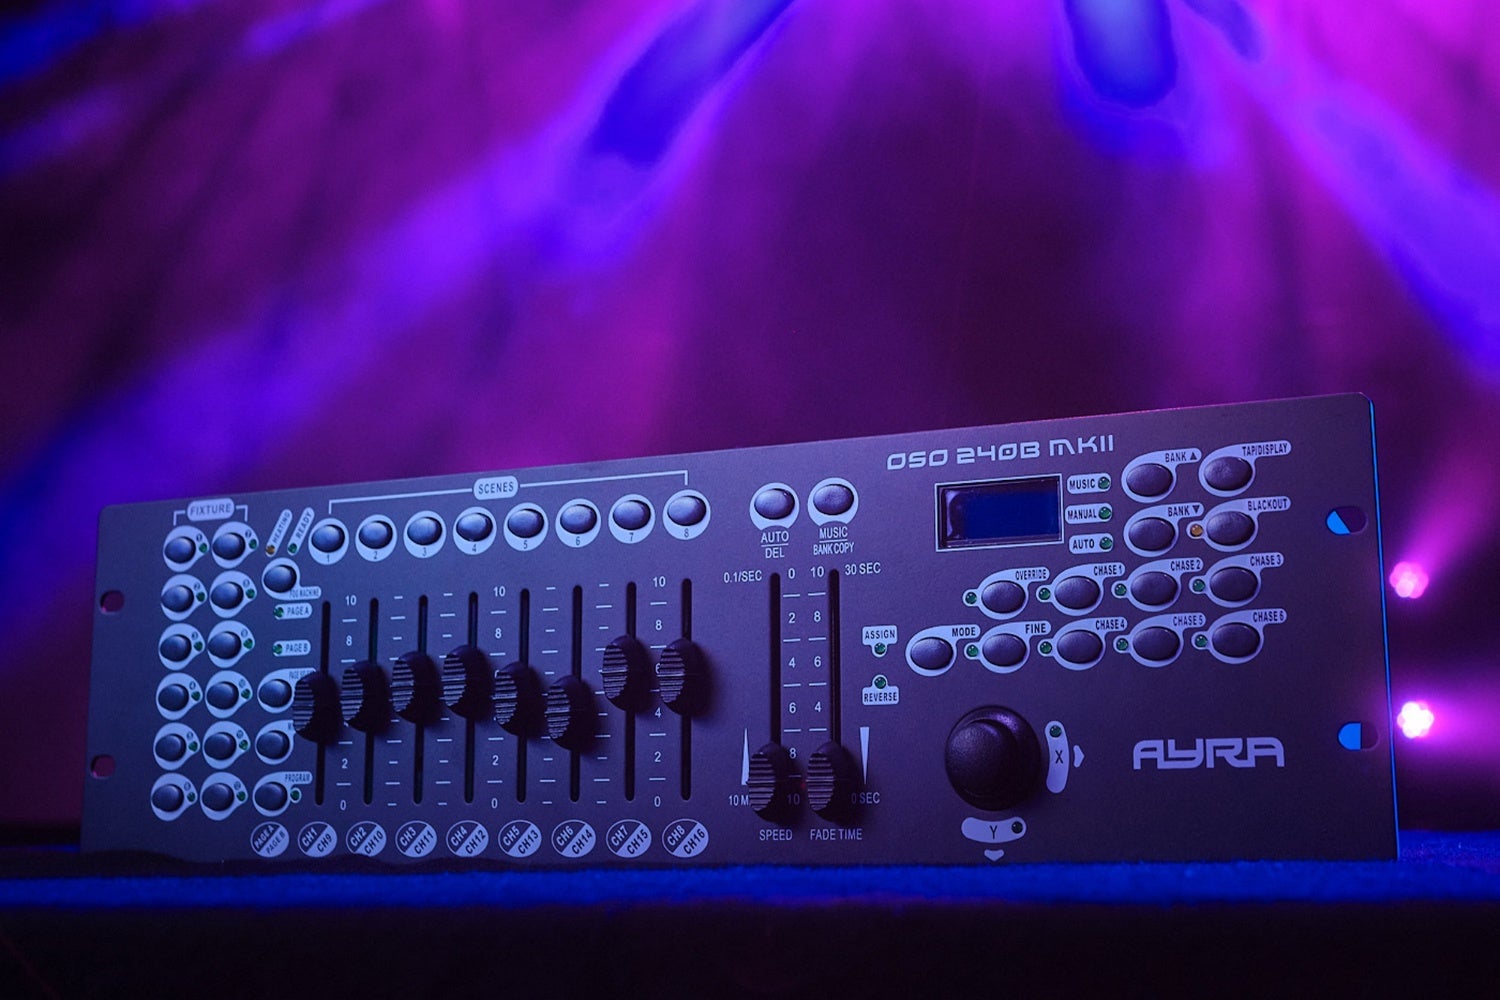
For a handful of LED pars, a compact lighting desk with scene memories is all you need: you save lighting states and recall them at the touch of a button. Bands, DJs and school stages love them, because such a desk works without a computer and responds instantly. But add more complex lighting such as moving heads, and you’ll soon run into the limited number of channels. Larger consoles with fixture libraries solve that problem, but they cost a lot more money and take longer to learn. That’s why you mainly see them in theatres and with touring technicians.
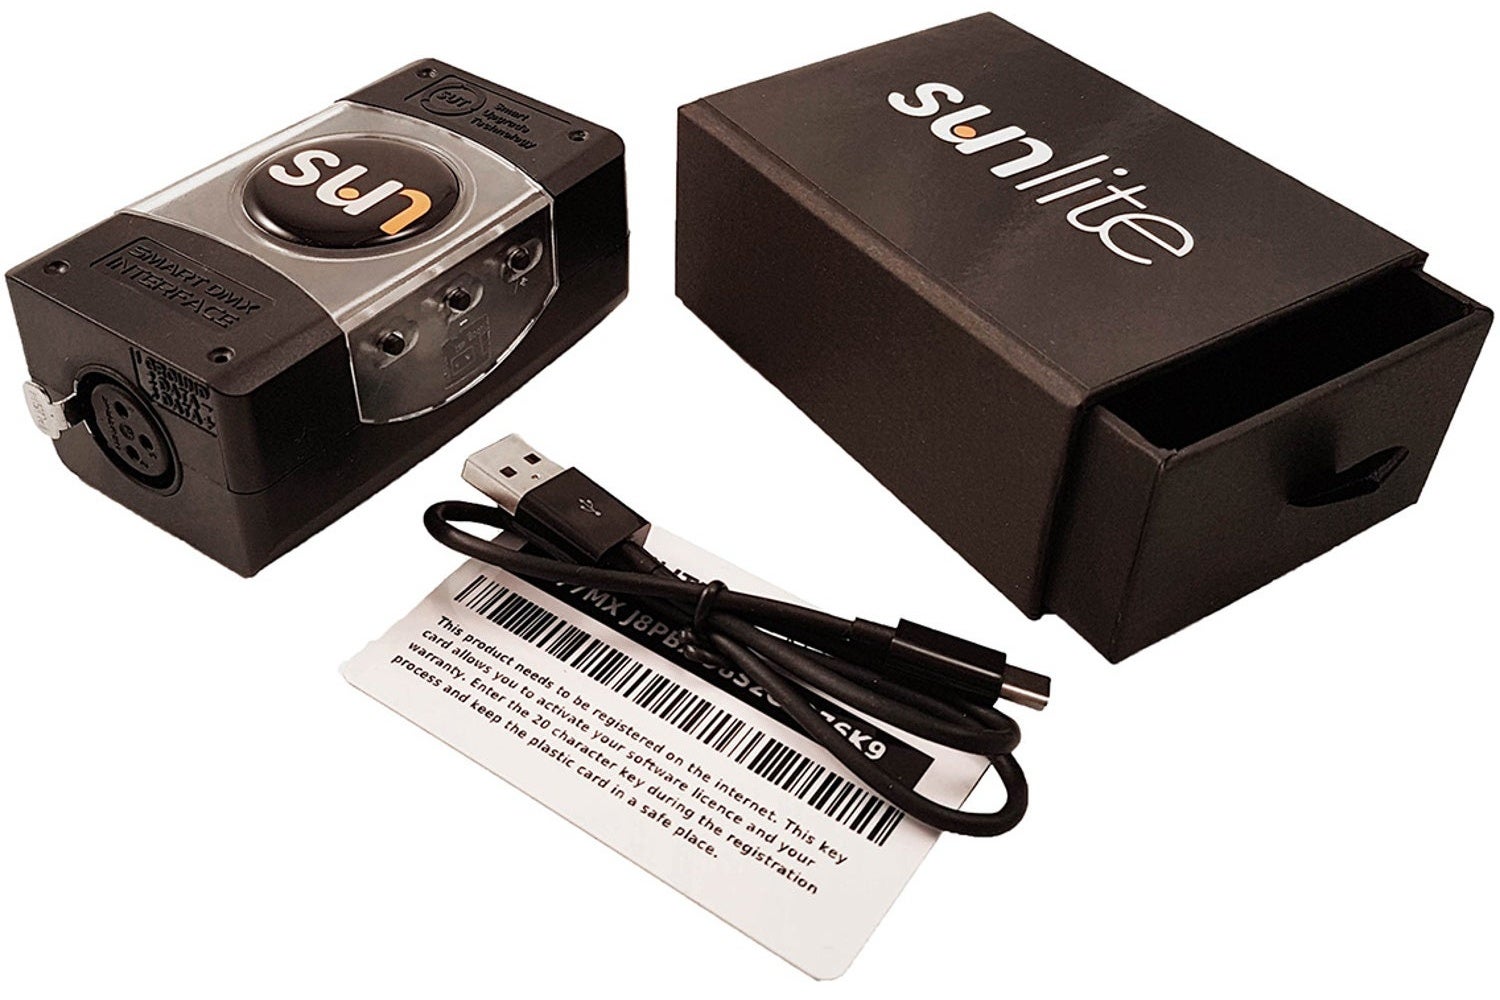
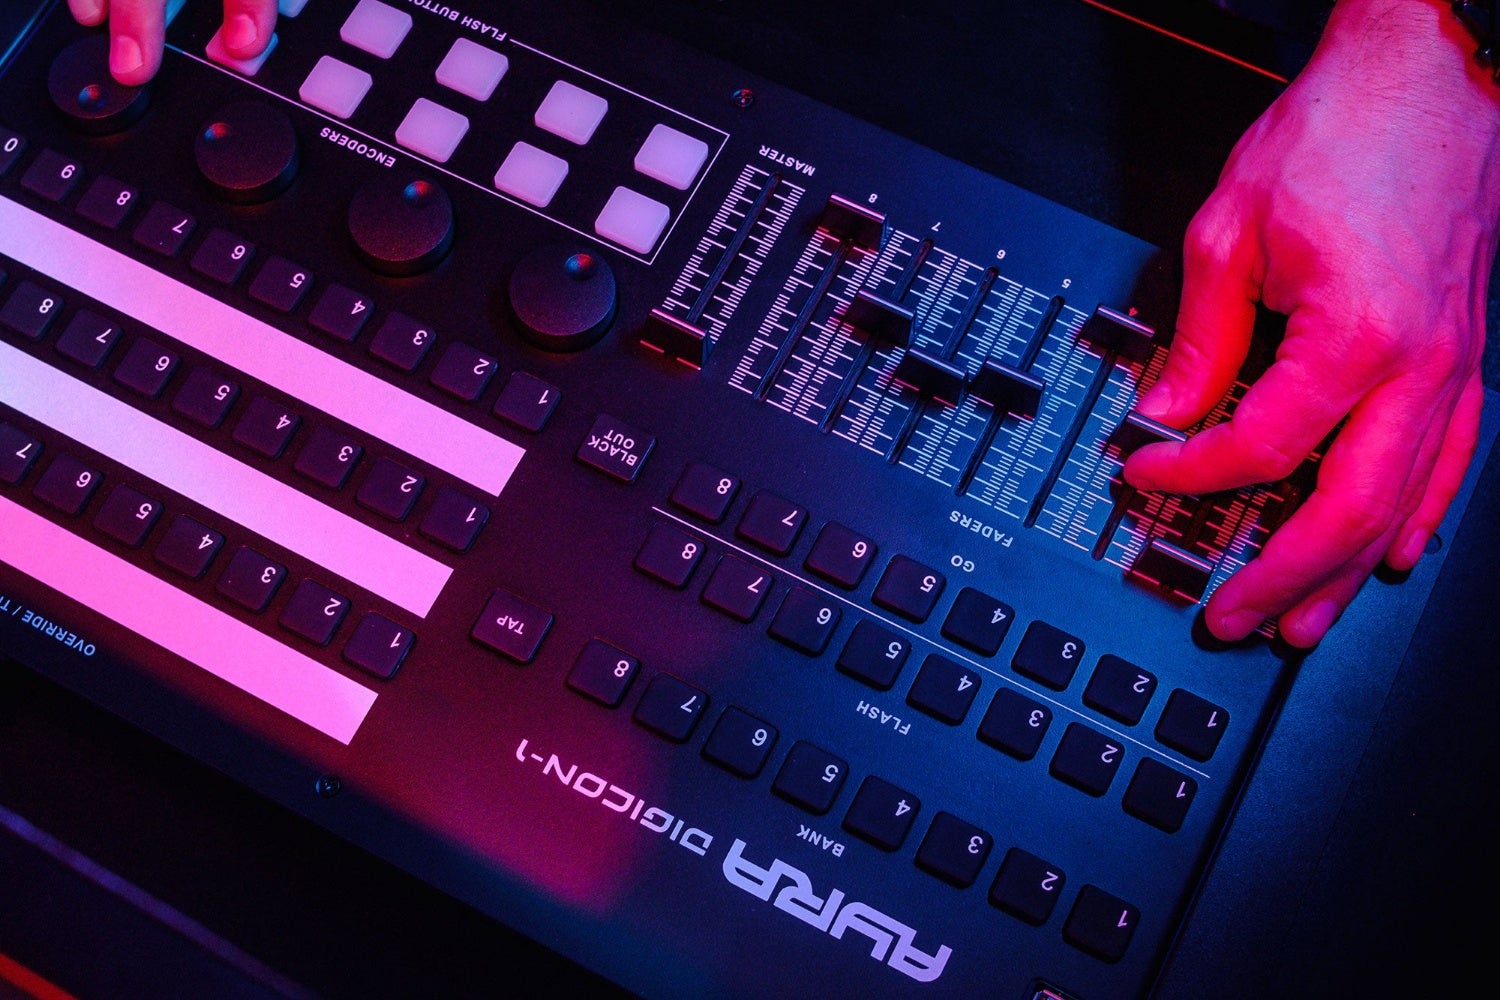
A lighting desk isn’t essential, by the way: a laptop with DMX software and a USB-DMX interface does the same job. The interface converts the data into a DMX signal, with an XLR output to your first fixture (from there, it’s simply a case of daisy-chaining). Software often offers more channels, fixture profiles and a visual representation of your rig, for less money than a comparable desk. On the other hand, your show depends on your laptop, and without physical faders you work less quickly and comfortably. Mobile DJs, clubs and hobbyists often go for this option. If you still want the feel of a lighting desk, there’s a solution in the form of so-called MIDI wings: they look like a DMX lighting controller, but they’re actually a box of buttons that only works in combination with the DMX software on your computer.
Whichever solution you choose, connecting it all up requires very little extra. If you want to play it safe (and certainly with long cable runs and professional setups), use proper DMX cables instead of standard XLR microphone cables. They look similar, but DMX cables are designed for digital data and prevent flickering lights. When buying, check whether you need 3- or 5-pin connections, as both are common. An adapter will sort out any mismatch. And don’t forget to terminate the last fixture with a DMX terminator. If you want to control multiple chains or cover a long distance, a splitter or wireless DMX comes into play. That said, for simple setups it’s generally no problem to use regular XLR cables.
And sometimes… you don’t need external control at all. Many fixtures have built-in modes, such as an automatic mode, sound-to-light or master/slave. The latter means one fixture controls the rest. For a party, a rehearsal room or a band without a lighting technician, that’s quickly sorted and costs nothing extra. Quick and precise adjustments aren’t an option, of course. The menu on a fixture has another handy function too: you can quickly test whether a light works before you start looking for the cause in your cables.
» View all DMX lighting controllers
» View all DMX software & interfaces
» DMX cables
» Standard XLR cables
» MIDI wings
From lighting desk to light: how the signal travels
At the start of every DMX system is the controller: a lighting desk or a computer running software. It’s the boss (the ‘master’, in technical terms) and the fixtures follow (the ‘slaves’). The cabling runs from device to device: from the controller’s OUT to the IN of the first fixture, from that fixture’s OUT or THRU to the IN of the second, and so on. This kind of linked chain is called a daisy chain and saves you a lot of separate cables.
Whatever travels through that chain stays unchanged along the way. Every fixture receives all 512 values, but only looks at the part intended for it and ignores the rest. It works like a teacher reading out the whole class’s marks: everyone hears all the marks, but you only listen out for your own name. So as far as the signal is concerned, it makes no difference whether a light is at the front or the back of the line.
You’ll come across two types of connector. Officially, the 5-pin XLR connector is the standard, but 3-pin is widespread in practice. So check which connections your fixtures have before buying cables. If you want to distribute the signal across multiple chains, for example stage left and stage right, use a splitter, buffer or repeater. On long cable runs, this also prevents the signal from weakening.
How to divide channels across your fixtures
Because every fixture receives the entire signal, it needs to know where its own part begins. This is called the start address. From that address, the fixture uses a series of consecutive channels. A four-channel par on address 1 listens to channels 1 to 4. You then start the next fixture on channel 5. If that one also has four channels, it will use channels 5 to 8.
The number of channels a fixture uses varies from device to device: sometimes just one, and seven or ten for more advanced lights. That’s because each function you want to control gets its own channel. A light that only dims needs just one channel. A par with separate channels for red, green, blue, dimmer and strobe quickly adds up to more. You’ll find the channel layout and available modes in the manual.
You set the next fixture to the start address plus the number of channels. Two ten-channel pars therefore go on 1 and 11. If a seven-channel fixture is set to 100, it uses 100 to 106 and the next one starts at 107.
Sometimes you actually want fixtures to do the same thing. Set two identical fixtures to the same start address and they’ll respond in exactly the same way: choose blue, and they both turn blue. This lets you group your front lights, for example, so you can operate them with a single action on your lighting desk instead of making the same setting four times.
Setting DIP switches on older fixtures
Turn an older fixture over and you’ll often find a row of tiny switches, usually ten side by side. These are DIP switches, and they’re used to set the start address. Nine switches are for the address. The tenth has its own function, which varies from device to device: on one fixture it activates DMX mode, on another a self-test or a fixed lighting state. So always check the manual.
The switches work in binary (on/off). Each switch has a fixed value that’s double the previous one: 1, 2, 4, 8, 16, 32, 64, 128 and 256. Switch 1 is usually the lowest. The address is simply the sum of the switches that are on. Think of it as a wallet containing exactly one of each coin, with values of 10p, 50p, £1, £2 and so on: with the right combination of coins, you can always hand over exactly the amount you need.
A few examples. For address 1, turn on only switch 1; for address 4, only switch 3. Address 10 is 2 plus 8, so switch 2 and switch 4. A handy rule of thumb for higher numbers: start with the highest value that fits and make up the rest. Address 40 then becomes 32 plus 8, i.e. switch 6 and switch 4. And address 129? That’s 128 plus 1: switch 8 and switch 1.
Can’t be bothered with the maths? Just search for ‘DIP switch calculator’. There are online calculators and apps that show you exactly which switches need to go up. Fixtures with an LCD or LED display make it even easier: you select the address via a menu or with up and down buttons, and simply see the number on the little screen.
From separate manufacturer protocols to a single standard
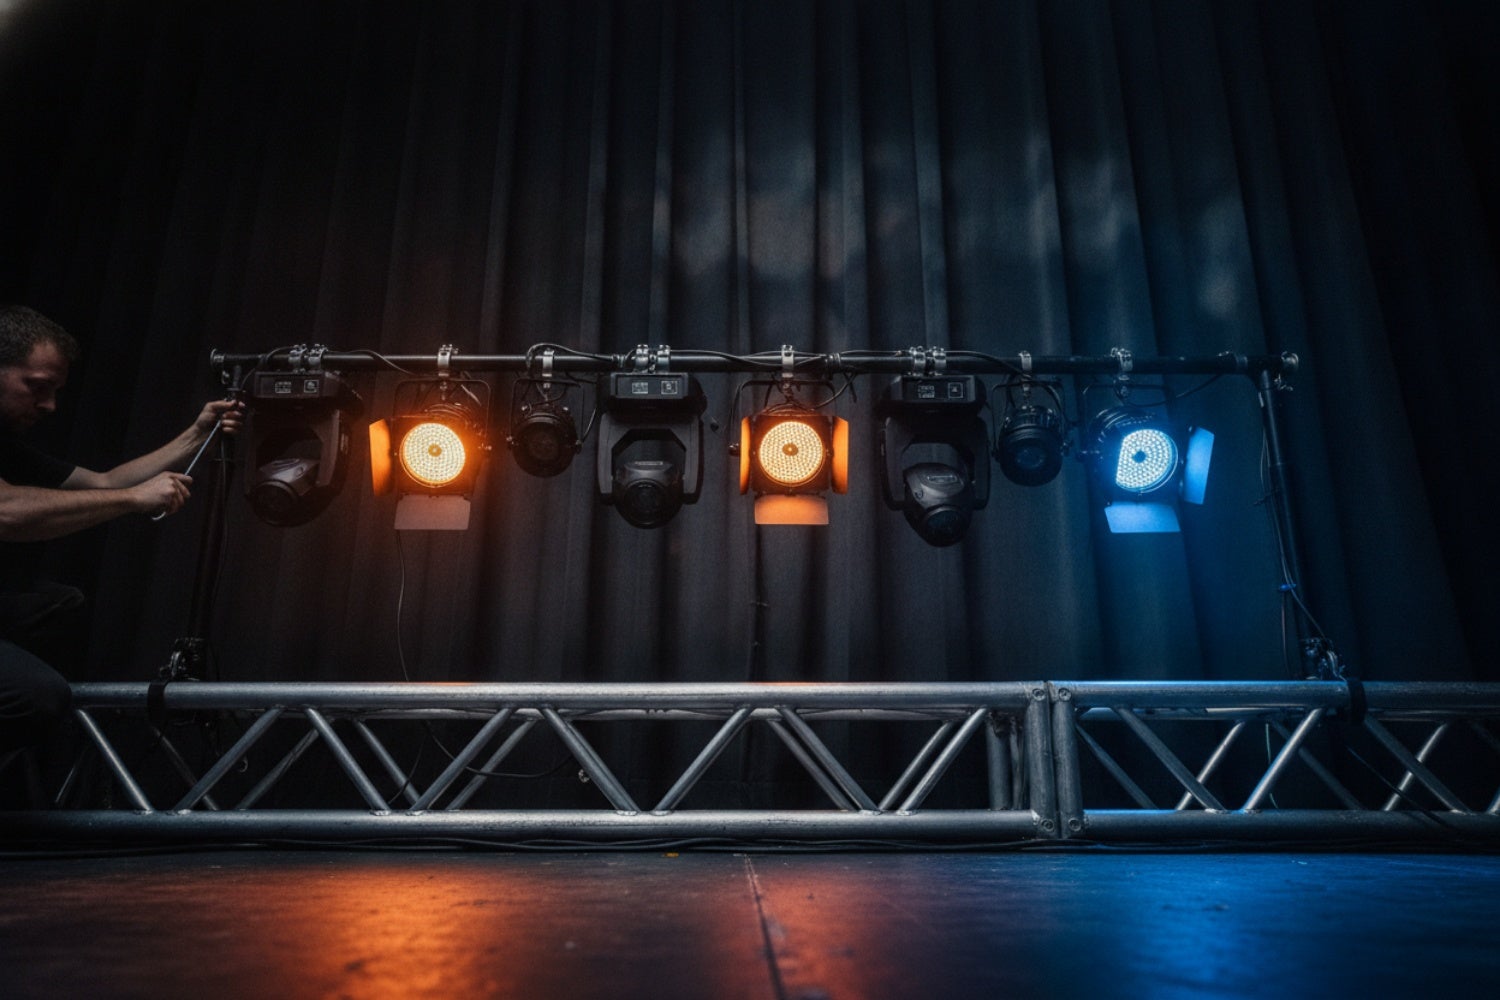
It wasn’t always this easy for all these brands to work together. Before DMX512, dimmers used their own proprietary protocols, which weren’t compatible with one another. A lighting desk from one brand simply couldn’t get dimmers from another brand to work. So in 1986, the Engineering Commission of the United States Institute for Theatre Technology (USITT) developed the first version of DMX512. Minor amendments followed in 1990.
In 1998, it became clear that the standard needed an update, as well as recognition by an internationally recognised standards organisation. USITT then handed over its maintenance to ESTA’s ANSI-accredited Technical Standards Program. On 8 November 2004, the American National Standards Institute approved the new version. This made DMX an official American standard, under the name ANSI E1.11, also known as DMX512-A.
A revision followed in 2008, and that version was reaffirmed in 2013 and 2018. The official title is quite a mouthful: ‘Entertainment Technology – USITT DMX512-A Asynchronous Serial Digital Data Transmission Standard for Controlling Lighting Equipment and Accessories’. If you see DMX512-A or E1.11 in a manual, you’ll at least know it refers to this standard.
Latest developments: DMX talks back
DMX isn’t standing still today either. In 2024, the standard underwent another full revision, as ANSI E1.11-2024. This version also describes a method for transmitting digital data to control lighting equipment and accessories. At least as interesting is RDM, or Remote Device Management. This extension is defined in ANSI E1.20, first in 2010 and now also in a 2025 version.
Classic DMX works in one direction: the controller talks, the fixtures listen. RDM enables two-way communication. This allows the controller to detect devices on the network and set their start addresses remotely, via the same DMX connection. So if your RDM fixture is hanging high up in a truss, you no longer need to climb a ladder to set the address via the display or menu. Older fixtures with DIP switches usually don’t support RDM. You still have to flip those little switches by hand.
ILDA, DALI and Art-Net: other standards alongside DMX
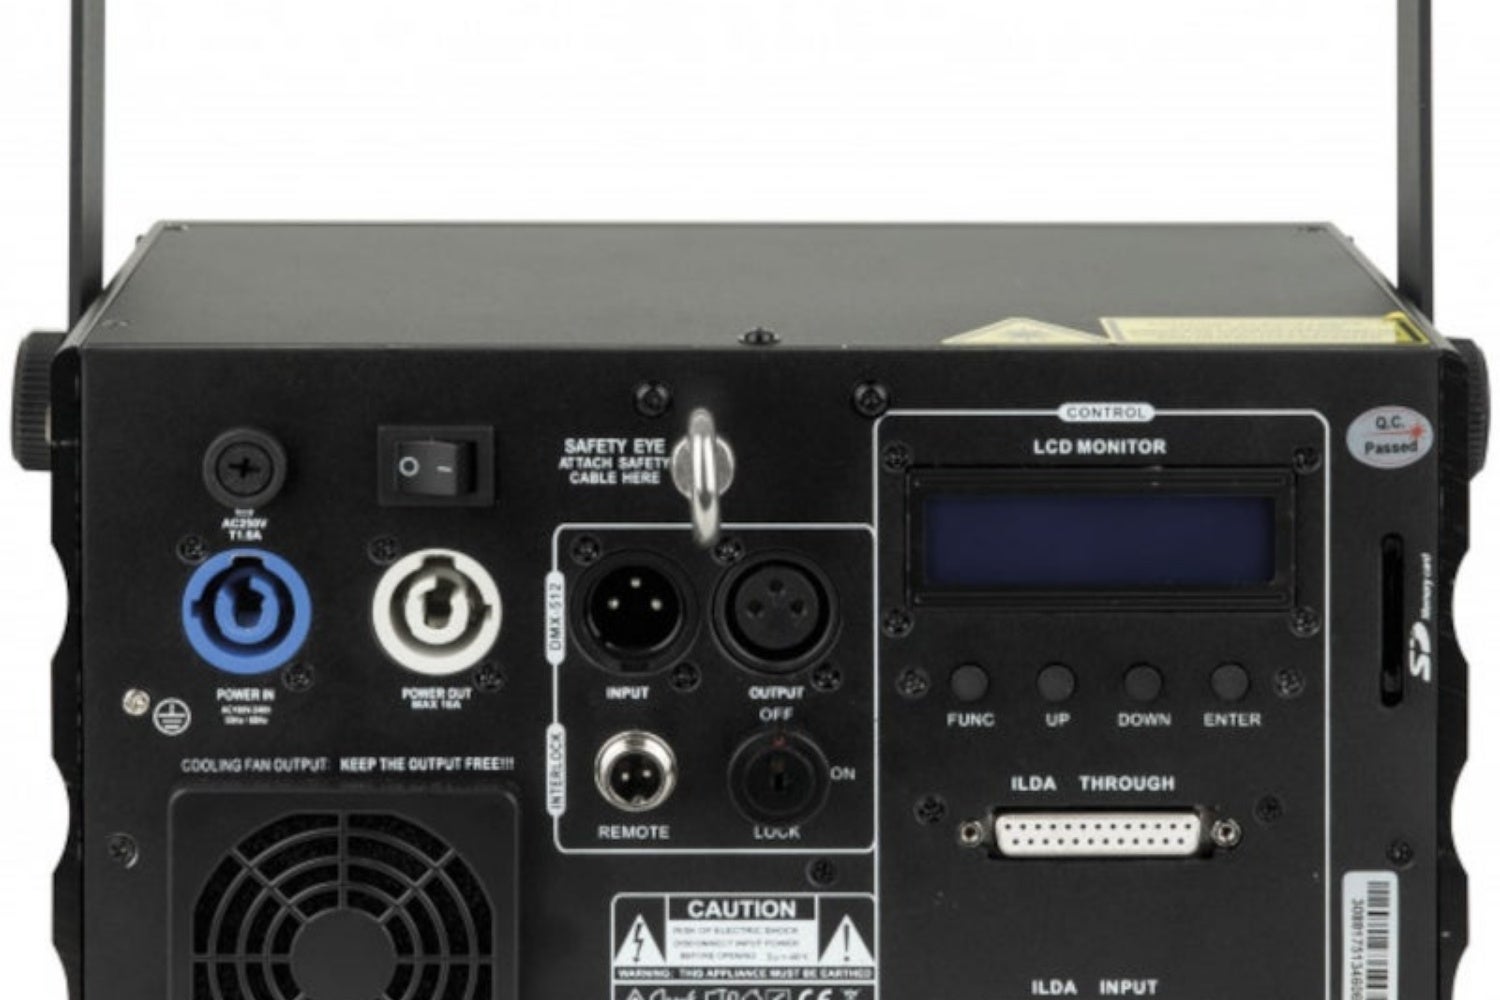
A laser that draws logos, text or moving figures isn’t controlled via DMX, but via ILDA. This standard comes from the international laser industry and drives the scanners in the laser directly and at high speed. DMX is too coarse for that: it mainly gives a laser commands like ‘select pattern 12 and rotate slowly’. With ILDA, you determine every single point of the projection yourself, usually with laser software and an ILDA interface between computer and laser.
ILDA is the domain of laser show companies, large clubs and festivals, where a show is programmed to the music in advance. Many entry-level party lasers for mobile DJs and bands don’t have an ILDA connection, just a DMX input and an automatic or sound-activated mode. If you work with a lighting desk and a handful of fixtures, a laser simply belongs in your DMX chain, with its own start address like any other device.
In buildings, DALI is the standard you’ll come across. It controls fixed lighting in offices, shops and foyers, often linked to switches, sensors and schedules. An installer sets up such a system once, and it has little to do with live shows. If an LED driver or light is labelled DALI, it’s intended for a fixed installation and won’t simply work with your lighting desk.
If your lighting plan grows beyond the 512 channels of a single universe, you’ll come across Art-Net or sACN. Both protocols package DMX data into network traffic, so you can send multiple universes over a standard network cable or switch. At the other end, a node converts the signal back to DMX for your fixtures. You won’t need this for a first setup with a few pars and a moving head, but on larger stages and in theatres it’s standard practice.
» Lasers with ILDA
» Lasers with DMX
 Stage Lighting: what’s the right lighting for you?
 Want to turn LPs into MP3s? Here’s How to Digitise Your Vinyl
 How to Breathe: For Vocalists & Musicians
 Create the Right Wedding Party Vibe with the Right Lighting
 7 golden rules for the beginner mobile DJ
 Everything You Need to Know About Making a Podcast
No comments yet...