
Microphone technique on stage: how to get the best sound as a singer
Published on Wednesday 30 September 2026

Mic in hand and off you go. How hard can it be? Yet you can instantly hear the difference between a singer who understands their microphone and one who’s just holding it. Good microphone technique on stage comes down to two things: where you point the microphone and how close you are to it. Master those two and you’ll sound fuller, and feedback will get less of a look-in.
Why you’ll almost always be handed a dynamic microphone live
Walk into any music venue or pub and there’s almost certainly a dynamic vocal microphone on the stand. That’s no coincidence. Dynamic microphones are the go-to choice for live vocals, mainly because they can take a knock. A microphone that falls off its stand, gets dragged across the stage by its cable or spends an entire evening covered in breath and sweat needs to work perfectly well again the next night.
On top of that, virtually every stage vocal microphone is directional. It’s built to pick up sound from close by and straight in front. So everything you read below about aiming and distance applies to almost any microphone you’ll get your hands on at a gig.
» View all stage products
» View all dynamic vocal microphones
» What is the best speech or vocal microphone for me?
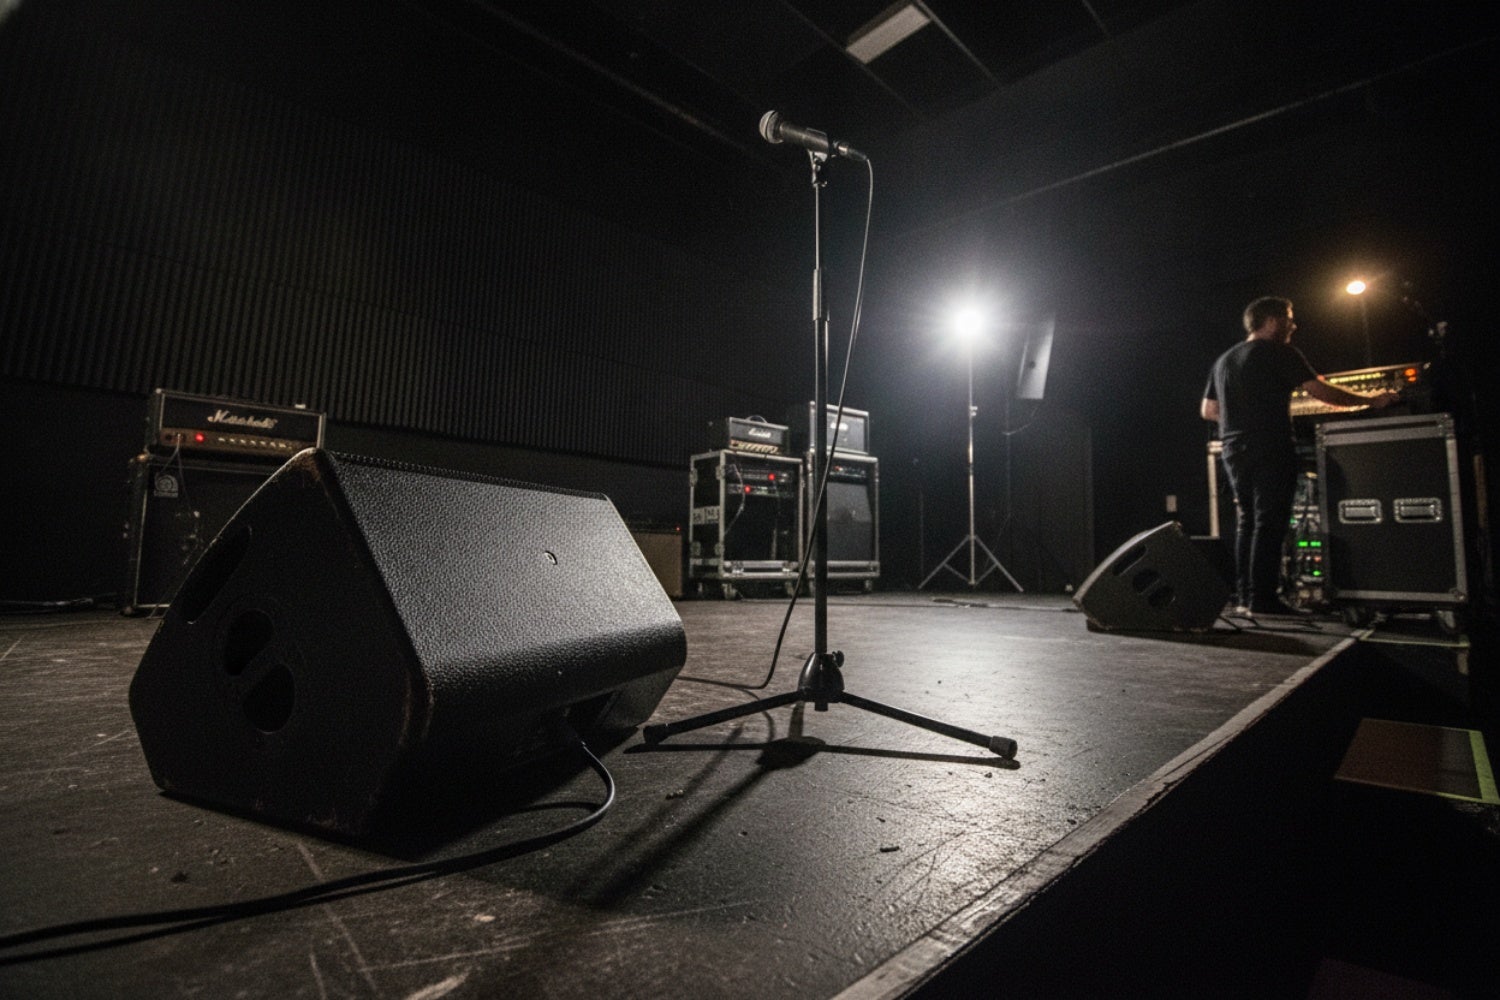
Point the microphone at your mouth
Try this during the soundcheck: sing a long note and slowly turn the microphone away from your mouth until it’s pointing almost at the ceiling. Your voice becomes thin and quiet, even though you’re singing just as loudly. The same thing happens if you hold the microphone under your chin like a stick. A directional microphone performs poorly if you don’t sing straight into it.
Think of it as a torch, but in reverse. Whatever falls within the beam, the microphone hears clearly. Whatever falls outside it, such as guitar amps, drums and the monitor at your feet, it hears far less. So keep the head pointed straight at your mouth, even when you move or turn your head.
Exactly which side is ‘deaf’ depends on the polar pattern. Cardioid is the most common for vocals, but you’ll also see plenty of supercardioid and hypercardioid microphones. A cardioid is least sensitive directly from behind. A super- or hypercardioid has a narrower beam, picks up a little from behind as well, and is actually deafest at an angle towards the rear.
Closer sounds fuller
The closer you sing to the microphone, the more signal it receives. Stand too far away and the microphone no longer captures your whole voice, so you sound thin. The engineer can turn up the volume, but then they’re also amplifying everything further away: the drum kit, the bass amp and the monitor. So you end up with more mess, not just more voice.
Singing up close has another side effect: the proximity effect. A directional microphone boosts the low frequencies the closer you get to it. Your voice sounds warmer and fuller, without anyone having to touch a knob.
It works the other way round too. Sometimes you actually want to sound less warm or less loud. I’ll tell you more about preventing annoying volume peaks below.

Taming plosives and peaks
Hold your hand just in front of your mouth and say ‘pop’, ‘butter’ and ‘table’. On the p, b and t you’ll feel a little burst of air. That burst also hits your microphone’s diaphragm and comes out of the speakers as a dull pop. Plosives are a well-known problem live, and the closer you are to the microphone, the louder they get.
Often a slight angle is all it takes. Sing just past the head rather than straight into it, by tilting the microphone ever so slightly. The burst of air then shoots past the diaphragm, while your voice stays within the beam. A windscreen over the grille helps too.
The same goes for powerful belting. When you hit a note at full force, move the microphone a little away from your mouth. In a quiet verse, come in closer instead. That way you handle the difference between loud and soft yourself, and the engineer doesn’t have to chase you with the fader all night. Practise it in the rehearsal room until it becomes second nature, and watch how experienced stage singers constantly vary their distance from the microphone. You won’t learn it in a single evening, mind you: it takes time to find the ‘sweet spots’.
Preventing feedback starts with you
Feedback occurs when sound from the speakers or monitors finds its way back into your microphone and gets amplified again. A directional microphone rejects sound from the sides and rear, such as that from the floor monitors. But that only works if you let it do its job.
The most common mistake is cupping your hand around the grille. It might look cool, but you’re covering the openings behind the capsule, and those are precisely what make the microphone directional. It then starts listening in all directions: your tone becomes muffled and that whistling is just waiting to happen. Hold the microphone by the handle, not by the head. If you lower it for a moment, don’t point the head at a monitor or the PA.
Where the monitor goes depends on your microphone. With a cardioid, it’s ideally placed directly in front of you, facing the back of the microphone. With a super- or hypercardioid, monitors are often placed slightly off to the side, in the dead zones.
Your bandmates count too. Every time the number of open microphones doubles, gain-before-feedback drops by 3 dB. So if four microphones are open while only two are being used, you’re giving up 3 dB. This loss happens because each additional open microphone picks up more ambient sound, causing the overall acoustic feedback loop to reach its limit sooner. That’s why engineers prefer to mute unused microphones.
» What is the best floor monitor for me?
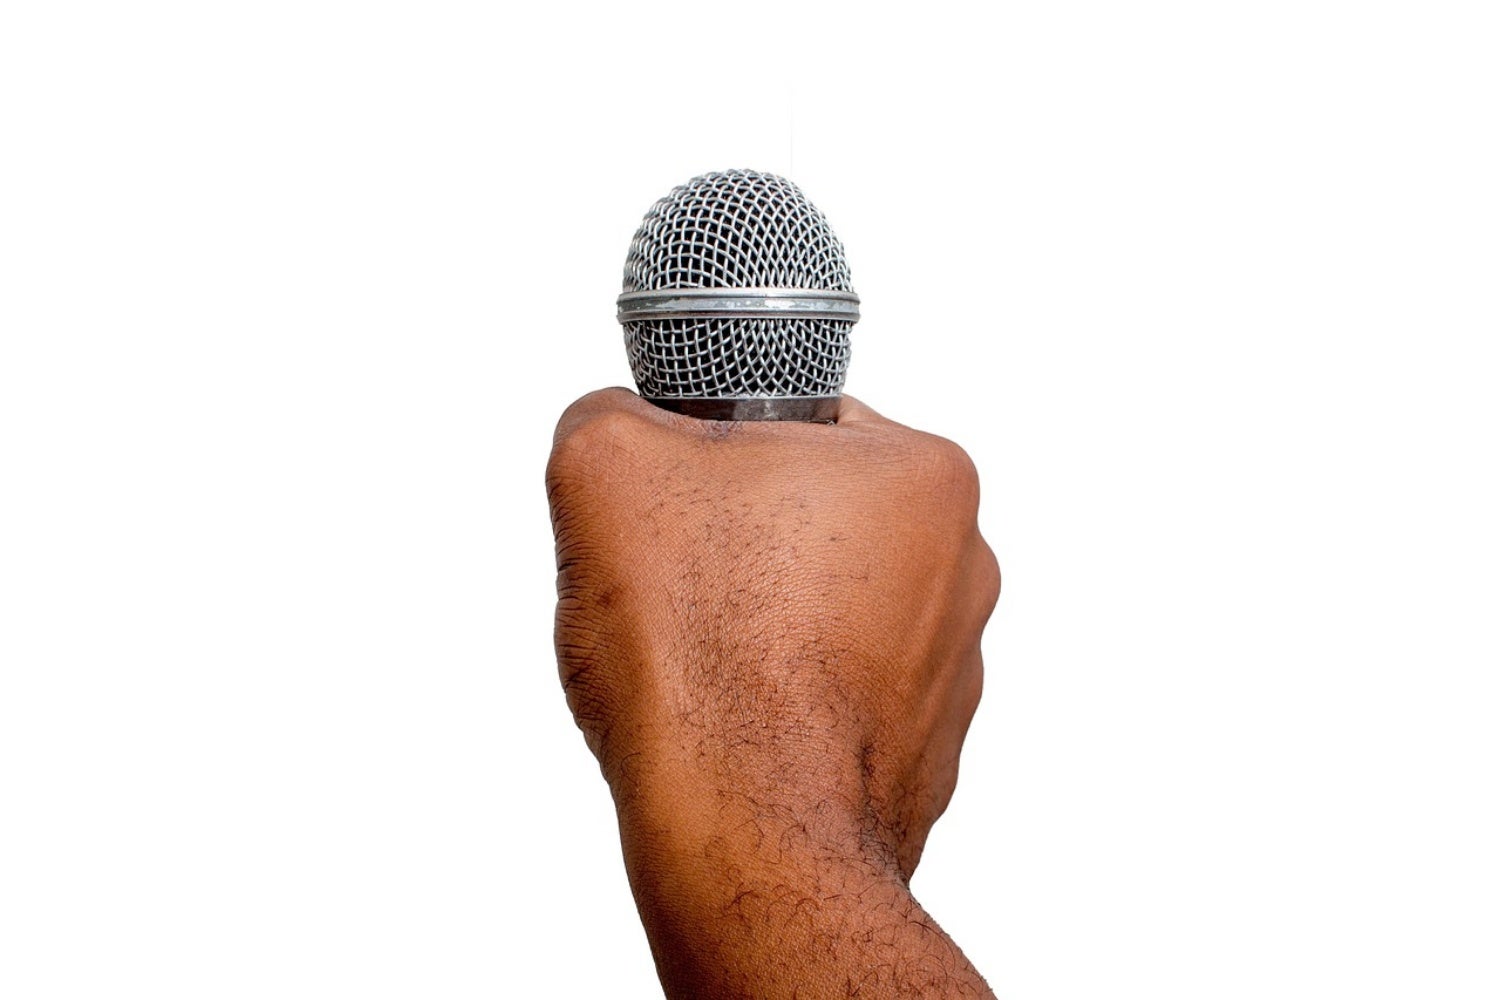
Keep your grille clean
A vocal microphone has to put up with breath, saliva and sometimes lipstick every night. Especially when several singers share the same microphone, a clean grille is no unnecessary luxury.
It isn’t complicated. In practice, a soft toothbrush with a little water or isopropyl alcohol works perfectly. Unscrew the grille, brush it gently clean and let it dry completely before putting it back. Keep the capsule itself dry, and your microphone will look just as smart at your next gig.
 Setting Up the Band with a PA System? Here’s What You Need to Know
 Want to turn LPs into MP3s? Here’s How to Digitise Your Vinyl
 Everything You Need to Know About Making a Podcast
 Recording the Acoustic Guitar: The Basic Rules
 How to Breathe: For Vocalists & Musicians
 So, Can You Connect a Microphone to Your Computer?
No comments yet...