
Playing the recorder: 7 tips for beginners to progress quickly
Published on Thursday 30 July 2026
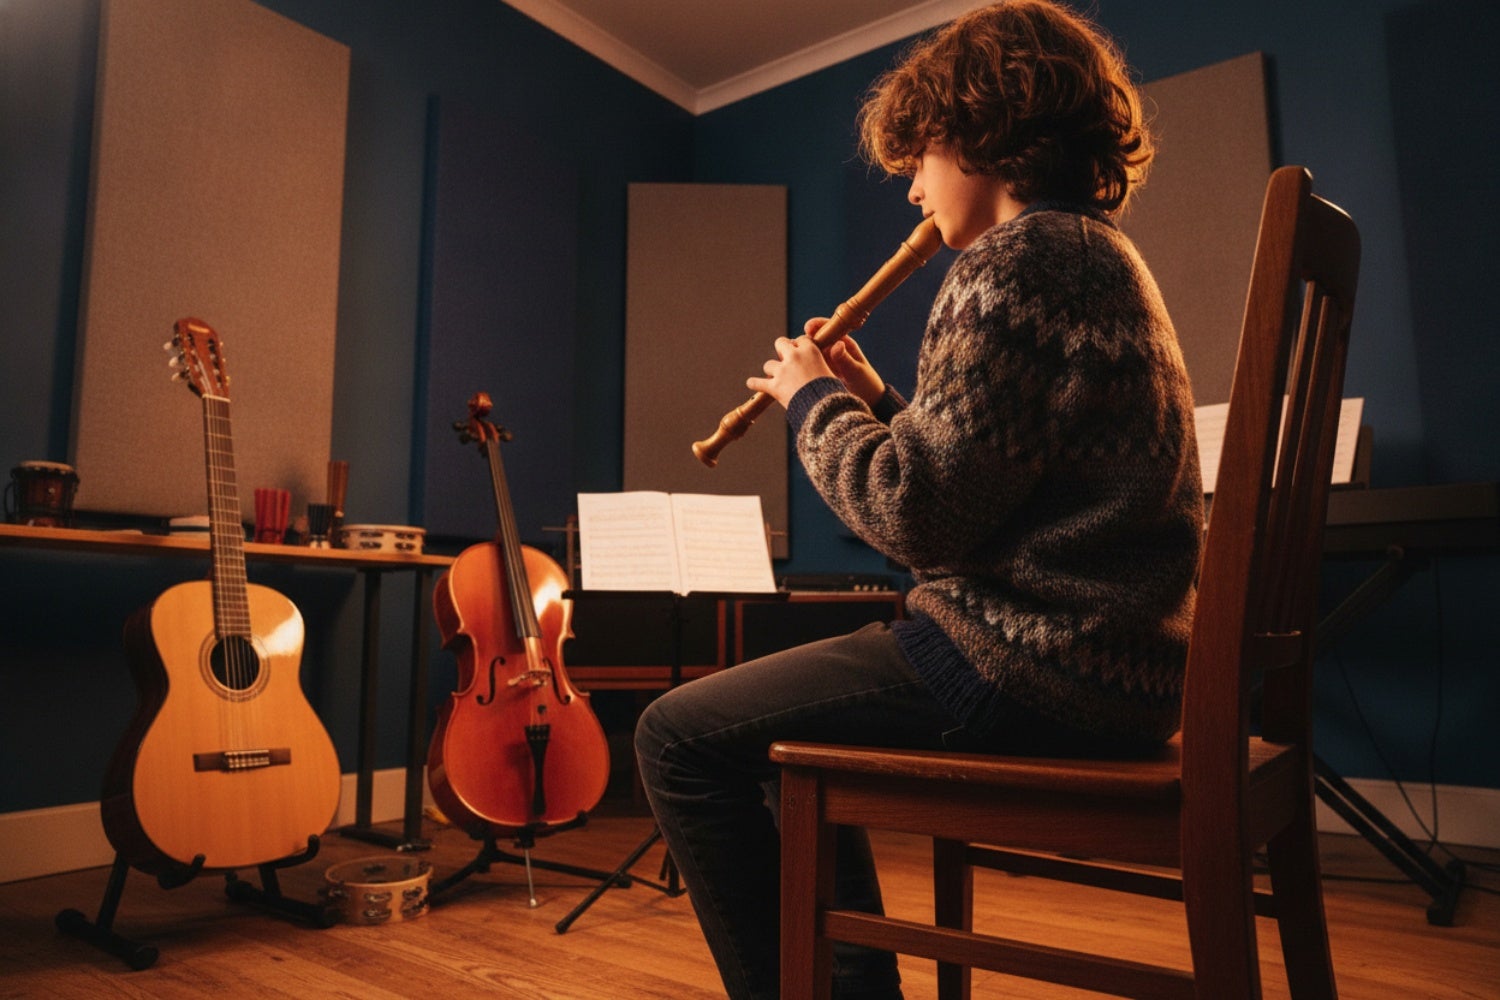
The recorder has 8 holes and can sound like a proper instrument within a few minutes — but there’s more to the jump from “making a sound” to “actually playing music” than you might expect. With the right approach, you’ll make visible progress from day one, without getting stuck in bad habits you’ll have to unlearn later.
#1. Listen back to yourself
Record yourself while playing — even if it’s just with your phone. What you hear while playing doesn’t always match what’s actually coming out. Because you’re busy focusing on your breath and fingers while playing, uneven notes or a sloppy tongue stroke can easily slip past you. A recording gives you a more honest picture than your own impression in the moment.
You don’t need to keep or analyse the recording. Listen to it once and focus on one thing: do your notes sound even, or are there clear outliers? Then pick one point to focus on during your next session. This way, you adjust yourself instead of just practising at random.
» Browse all soprano recorders

#2. Put your left hand on top
Put your left hand at the top of the recorder and your right hand at the bottom — that’s the only correct way. Both the recorder and method books are designed with this hand placement in mind. It’s like cycling with your hands crossed over — you might manage it, but it’s not recommended!
Your right thumb, by the way, isn’t just for decoration: it supports the recorder underneath, roughly between the fourth and fifth hole. Without that support, the recorder will wobble while you play, which directly affects your sound and finger movement.
#3. Sit or stand up straight — relaxed, not stiff
A straight, relaxed posture is the foundation for good sound and for longer practice sessions without discomfort. Keep your shoulders loose, your neck relaxed and your elbows slightly away from your body. If you play tensed up, it directly affects your breathing, and therefore your tone.
Your breath comes from your belly, not your shoulders. Place your hand on your stomach and breathe in deeply: your belly should move forward, not your shoulders. This creates a stable, controlled airflow — exactly what you need for a full, even tone.
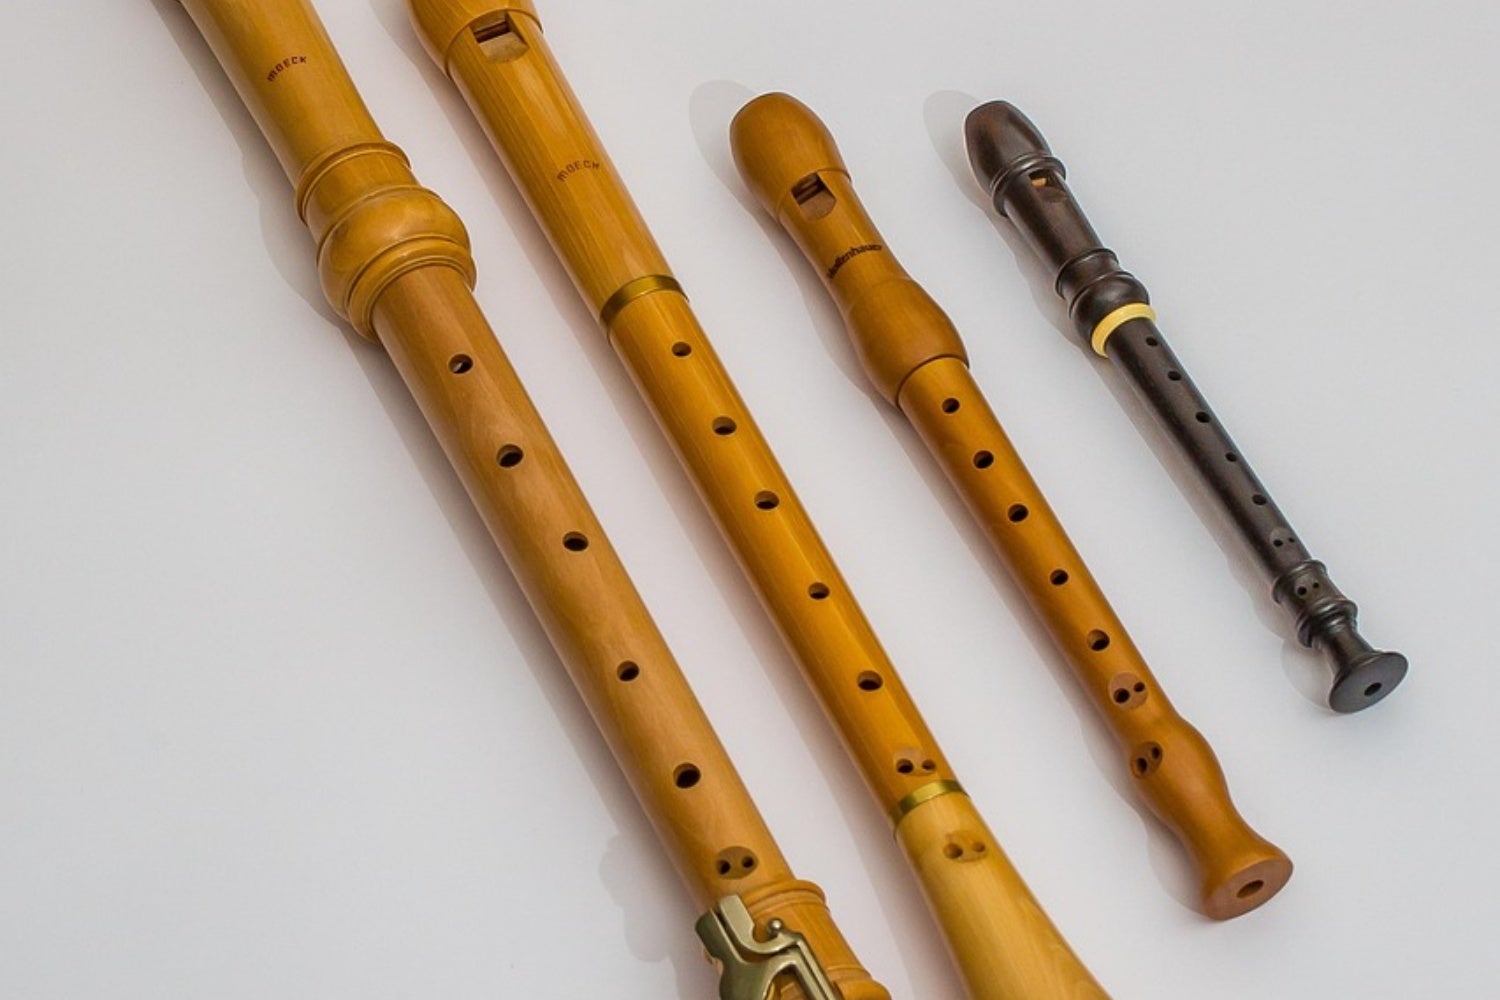
#4. Blow softly and evenly
Blow too hard and your recorder will squeak — that’s not a fault, but a sign you’re giving it too much air. Think of a garden hose: if you set the pressure too high, the water sprays everywhere instead of forming a steady stream. Your breath works exactly the same way.
Try to maintain a soft, even airflow, as if you’re trying not to quite blow out a candle a metre away. Lower notes require even less air pressure than higher ones, so be deliberately sparing with your breath, especially at the start.
Does your recorder still squeak? First check whether you’re fully covering all the holes. Just one tiny gap from a loose finger is enough to cause a shrill, off sound. Don’t press harder on the holes — that won’t help. Instead, lay your fingers flatter and more securely.
#5. Use your tongue for every note
Tap your tongue gently just above your teeth, as if saying “du” or “tu” — that’s how you start every note. Without that tongue stroke, notes blur together and everything sounds like one long blowing motion. Your tongue, your breath and your fingers together form the three elements of recorder playing; all three are equally important.
Practise this first on a single note. Play B (thumb + left index finger) and use your tongue for every restart: du-du-du-du. Once that feels smooth, add a second note. This way, you build up control before things get more complicated.
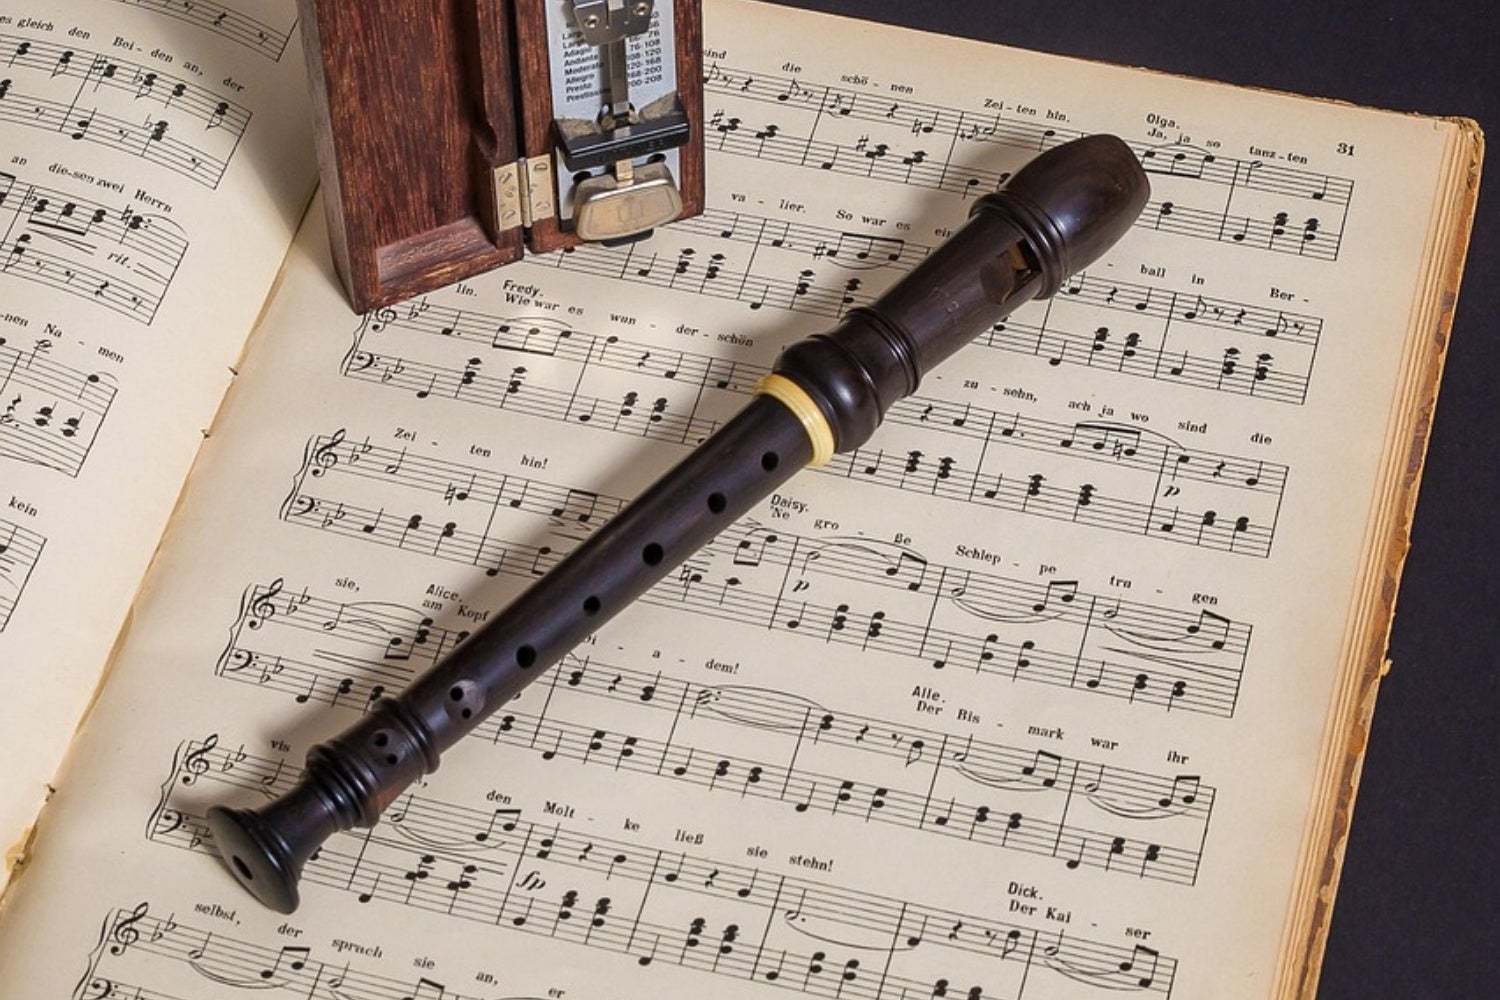
#6. Practise daily — even if only briefly
Fifteen to twenty minutes of practice a day gets you further than one hour on a Saturday. Just as you won’t build muscle strength from one long workout a week, your fingers and breathing technique won’t learn anything from occasional bursts. Shorter, more frequent sessions let everything settle in and become second nature.
Build up your practice time gradually as your stamina increases. Start easy, keep it manageable, and extend the duration once you notice you want more. Don’t force yourself through practice sessions that frustrate you — it’s better to stop a little early and pick it up again tomorrow.
#7. Good lessons
Music lessons from a teacher — together in the same room — are really the best first step. But if that’s not an option, at least choose a good method book: this gives you structure. It starts with the easiest notes, builds up step by step, and makes sure you don’t skip anything. Without that structure, you’ll quickly end up jumping between notes and songs without the basics really being solid.
» Browse all recorder books
» Which recorder is best for me?






No comments yet...