
Stage lighting for beginners: front light, backlight and side light explained
Published on Wednesday 21 October 2026
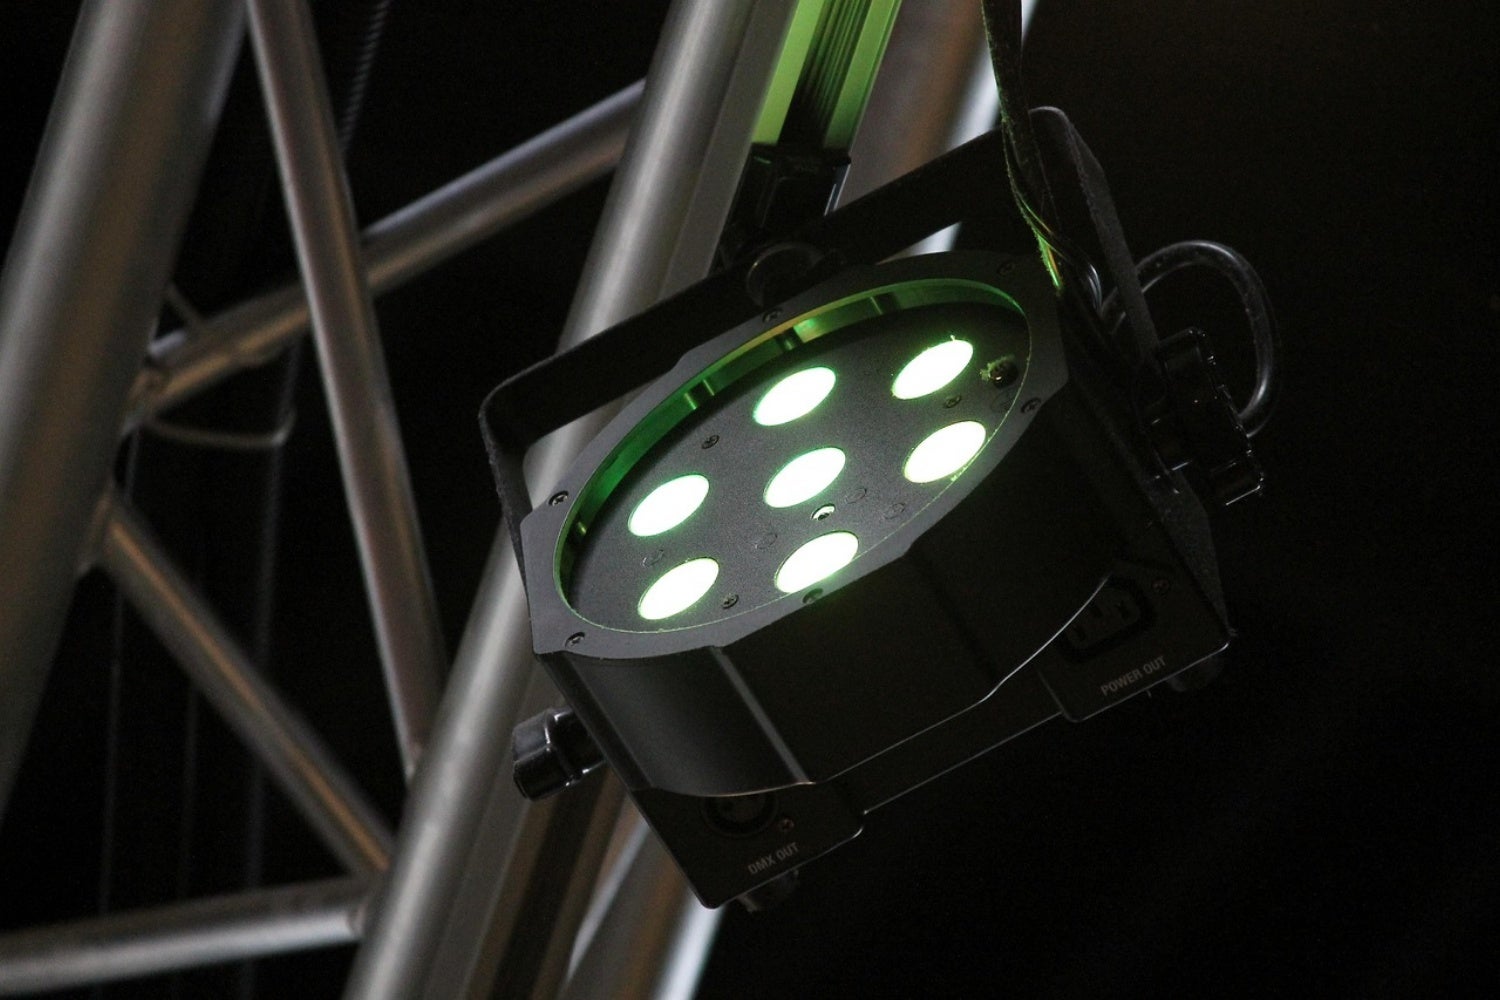
Lighting a band, act or any other kind of performer well is mostly about direction. Front light lets the audience see the performers’ faces, while backlight and side light add shape and atmosphere. Once you understand those three directions, you can use a handful of spots to build a set-up that looks great on any stage, from the village hall to the festival tent.
What light actually does on stage
Light has three jobs on stage: making sure the audience can see, deciding exactly where the audience looks and setting the mood. That first one sounds like stating the obvious, but… visibility of what, exactly? The singer needs to be seen. The tangle of cables behind the drummer, preferably not. So every spot you aim is also a choice about what you leave in the dark.
Then there’s focus. In a TV recording, a director chooses who appears on screen. Live, there’s no camera shot, so the lighting does that job: the audience looks where the light is. Make the lead singer just a touch brighter than everyone else and eyes will automatically drift that way. The atmosphere then comes from the colour and direction of the light. Warm white, for example, feels different from deep blue, and light from behind tells a different story than light from straight ahead.
Front light: choose the right angle for faces
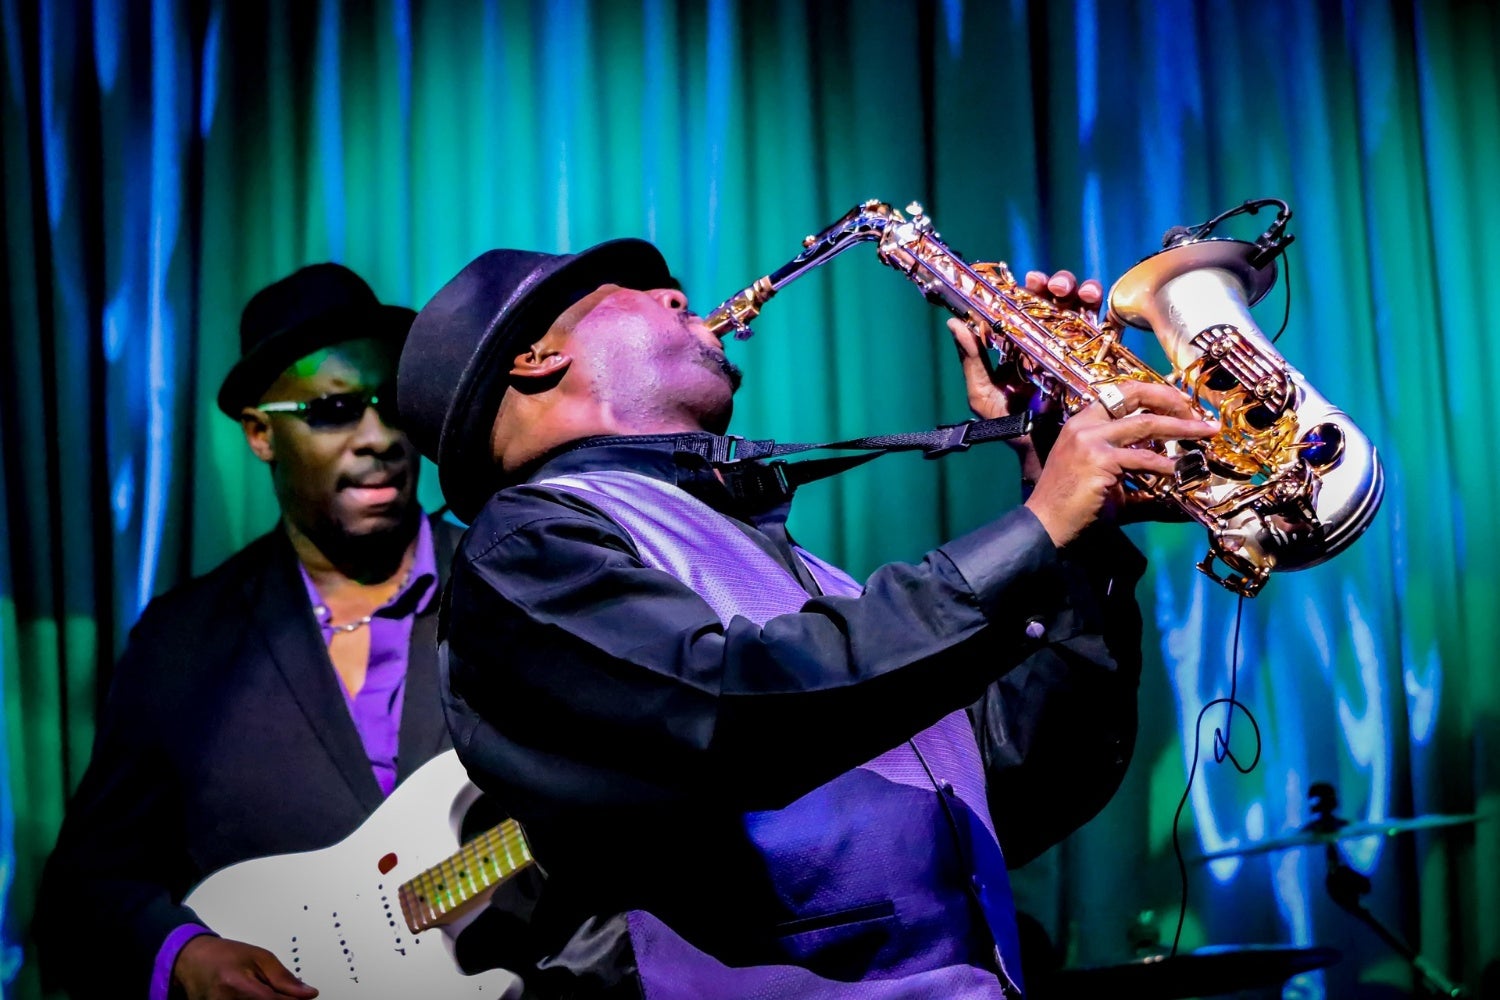
Front light is all the light shining from the audience towards the stage, and it’s the only way to make faces truly ‘readable’. The classic beginner’s mistake is a spot pointing straight on, roughly at eye level. Everything is lit, but it’s also flat: the nose and jawline lose their shape and the performer blends into the background.
So although we call it ‘front’ light, it never really shines straight from the front. Always hang the spot higher and off to the side:
• 45 degrees from above: imagine that 0 degrees is a lamp shining straight into the performer’s face, and 90 degrees is a lamp shining straight down onto the top of their head. 45 degrees sits exactly in between. In other words, the spot hangs a bit higher and shines down onto the performer’s face at an angle.
• 45 degrees from the side: 0 degrees is directly in front of the performer, and 90 degrees is a lamp shining onto the side of their head from the wings. 45 degrees is in between, so the light comes in diagonally from the side.
Angling the spot diagonally from above + diagonally from the side stops musicians casting shadows on each other and keeps their eyes clearly visible. Don’t go too high, though, or you’ll get the opposite of the torch-under-the-chin effect: dark eye sockets and a black stripe under the nose and chin. Very dramatic, but nobody will recognise the singer any more.
That 45-degree angle comes from the theatre, from the method of Stanley McCandless. He taught at Yale from 1926 onwards and is known as the father of modern lighting design. His approach is still the foundation of lighting courses today. It’s not the only way, but it almost always works.
One warm and one cool spot per stage area
A single front spot from one angle shows off a face beautifully, but there’s a catch: the audience on one side mostly sees a lit face, while people on the other side mostly see the shadowed half. A second spot on the opposite side solves that. You lose a bit of depth, but everyone in the room now has a good view. (If your audience surrounds the stage, widen the angle or add a third and fourth spot.)
Give the two spots different tints. Make one warm, such as a light amber or another yellowish colour, and the other cool, such as light blue or lavender. The warm spot plays the sun, while the cool one imitates the skylight that fills in the shadows. That gives a face depth without an entire cheek disappearing into black. You can also adjust the balance between the two to set the mood: more warm for a sunny up-tempo number, more cool for a ballad. With a DMX lighting controller, you simply adjust this per channel.
How large an area can a set of spots like this cover? Allow roughly three to four metres of width for two spots. So a six-metre stage is split into two areas, with four front spots in total. Try to cover it with a single pair from far away and the beam becomes too wide and too weak.
Backlight: depth and drama
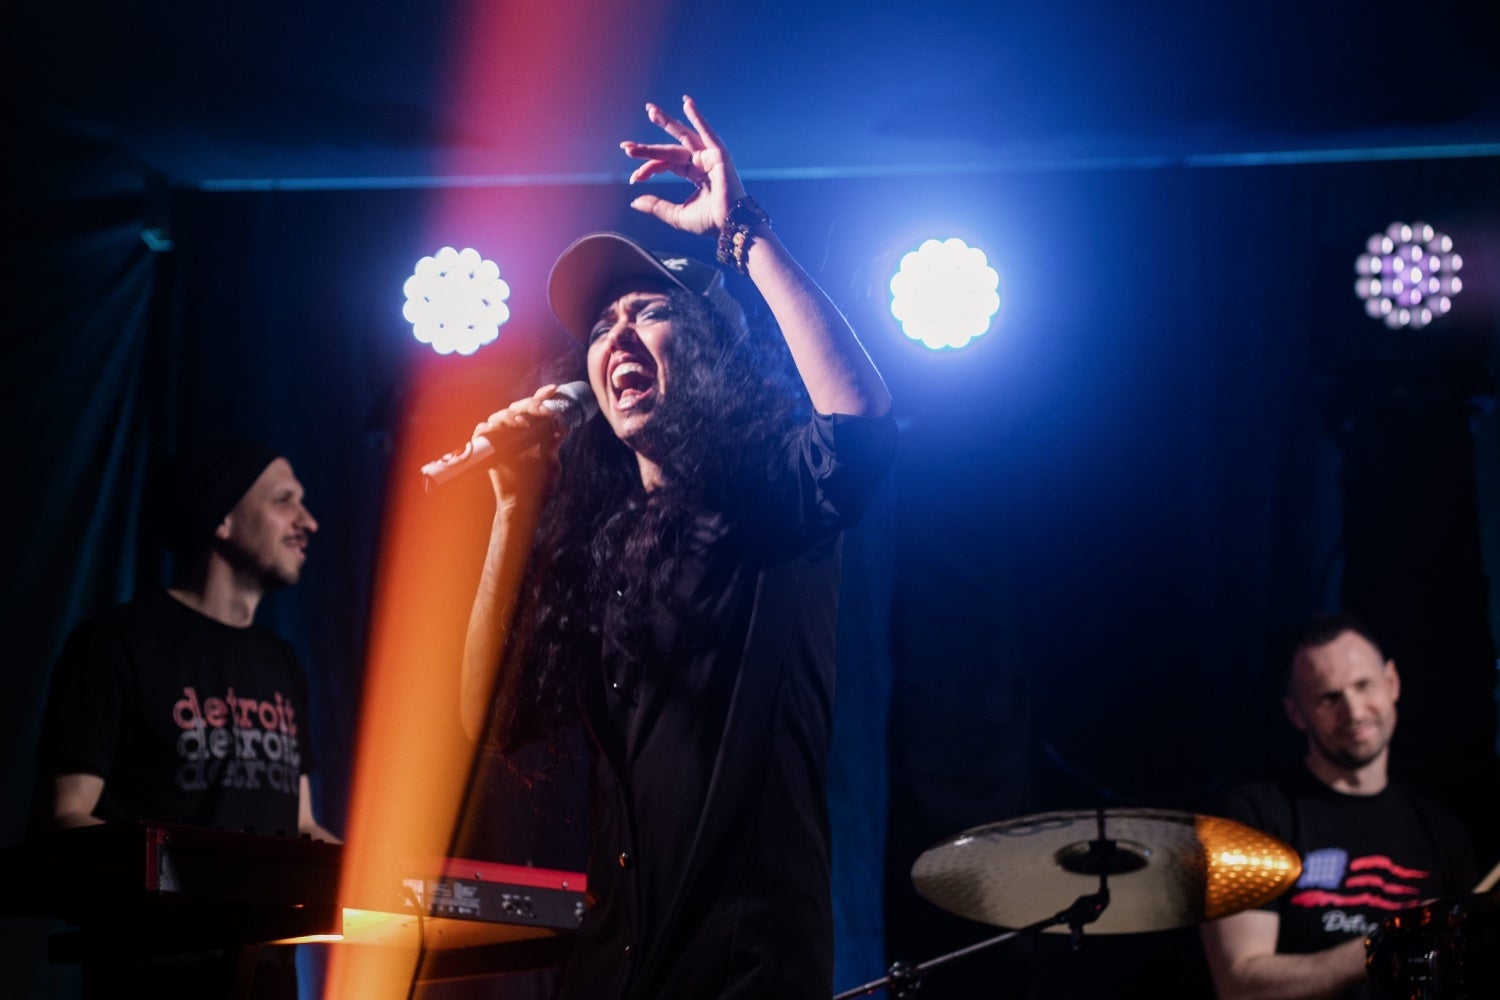
With front light alone, the picture stays flat, no matter how neat your angles are. Backlight hangs behind and above the musicians and shines towards the audience. It puts a bright rim on shoulders and hair, so the performer stands out from the background. A steeply hung backlight is what really completes the picture.
Backlight can take a much stronger colour than front light. A classic combination is an almost white or lightly tinted front light with a deep blue backlight; red or magenta works just as well. This is where the drama lies in band lighting: the audience looks at the stage and mainly sees the colour behind the band change. Switch it for each song and the whole stage feels different. Do aim at the musicians rather than the front row, though, as the beam points into the audience.
Side light: shape for the body, not the face
Side light is placed to the left and right of the stage, at the musician’s height or slightly above, and shines across the stage. For faces it’s of little use, because the nose casts a shadow across the cheek. For bodies, though, it’s ideal. Shoulders and the neck of a guitar get a lovely rim that you can’t bring out with front light or backlight. (Using only side light from both sides is fun for an intro but unusable for an entire set. The edges of each figure are lit, but the front stays dark.)
Combined with front light, side light fills in what the rest of the lighting misses. With a strong colour in particular, it gives shape to people and objects on stage. Two spots on stands, one on either side, are enough to get started. But treat it as the last step, not the first: only add side light once your front light and backlight are in place.
3 set-ups to get you started
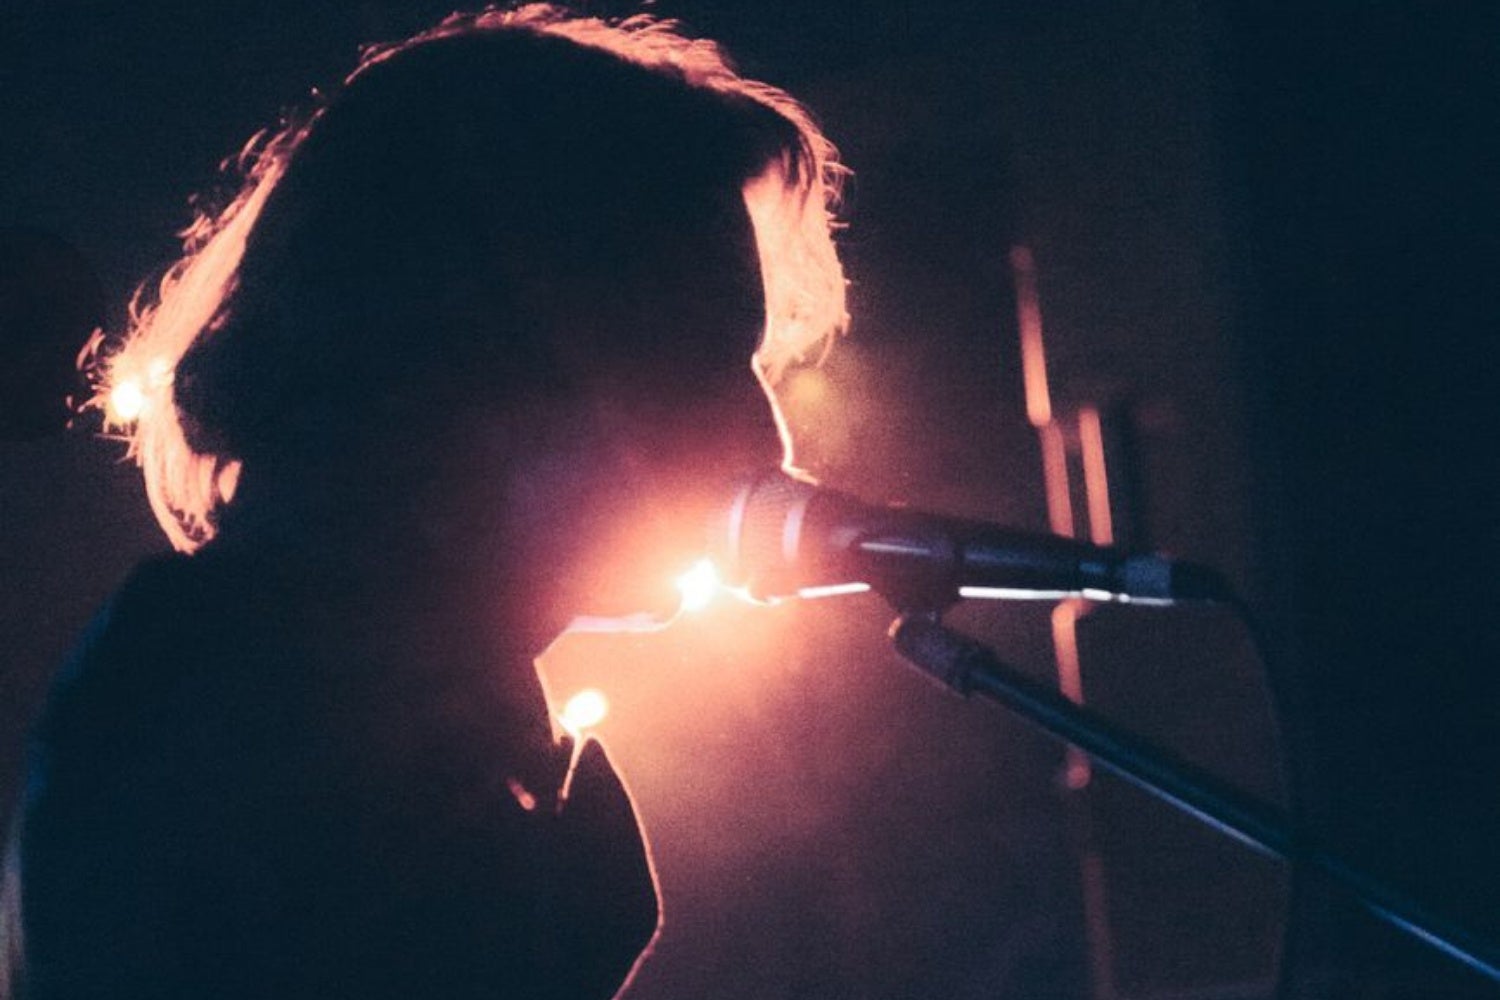
All three start with front light and build from there. Visibility first, colour and drama second.
#1. Four spots, one stage area. Set up two front spots at 45 degrees, one warm and one cool, plus two backlights in a colour of your choice. That’s enough for a singer-songwriter, a duo or a small act that mostly stays centre stage.
#2. Eight pars, two stage areas. Use four front spots for a stage of about six metres, two backlights and two side lights on stands. This lets you light a band of three to four musicians without any dark gaps.
#3. The same set as #2, but with ‘specials’. A special is a single spot used for one fixed position or effect, separate from the general lighting. Think of a narrow white beam on the singer during the chorus, or a spot on the keyboard player who would otherwise be left too much in the dark at the back. With a DMX controller, you can easily program what switches on and off for each song.
And remember: more lights doesn’t automatically mean better lighting. Four well-aimed spots do more than twelve hung up at random.
» View all basic lighting sets
» View all DMX lighting controllers
» Battery-powered pars and wireless DMX: a light show without cables



No comments yet...